
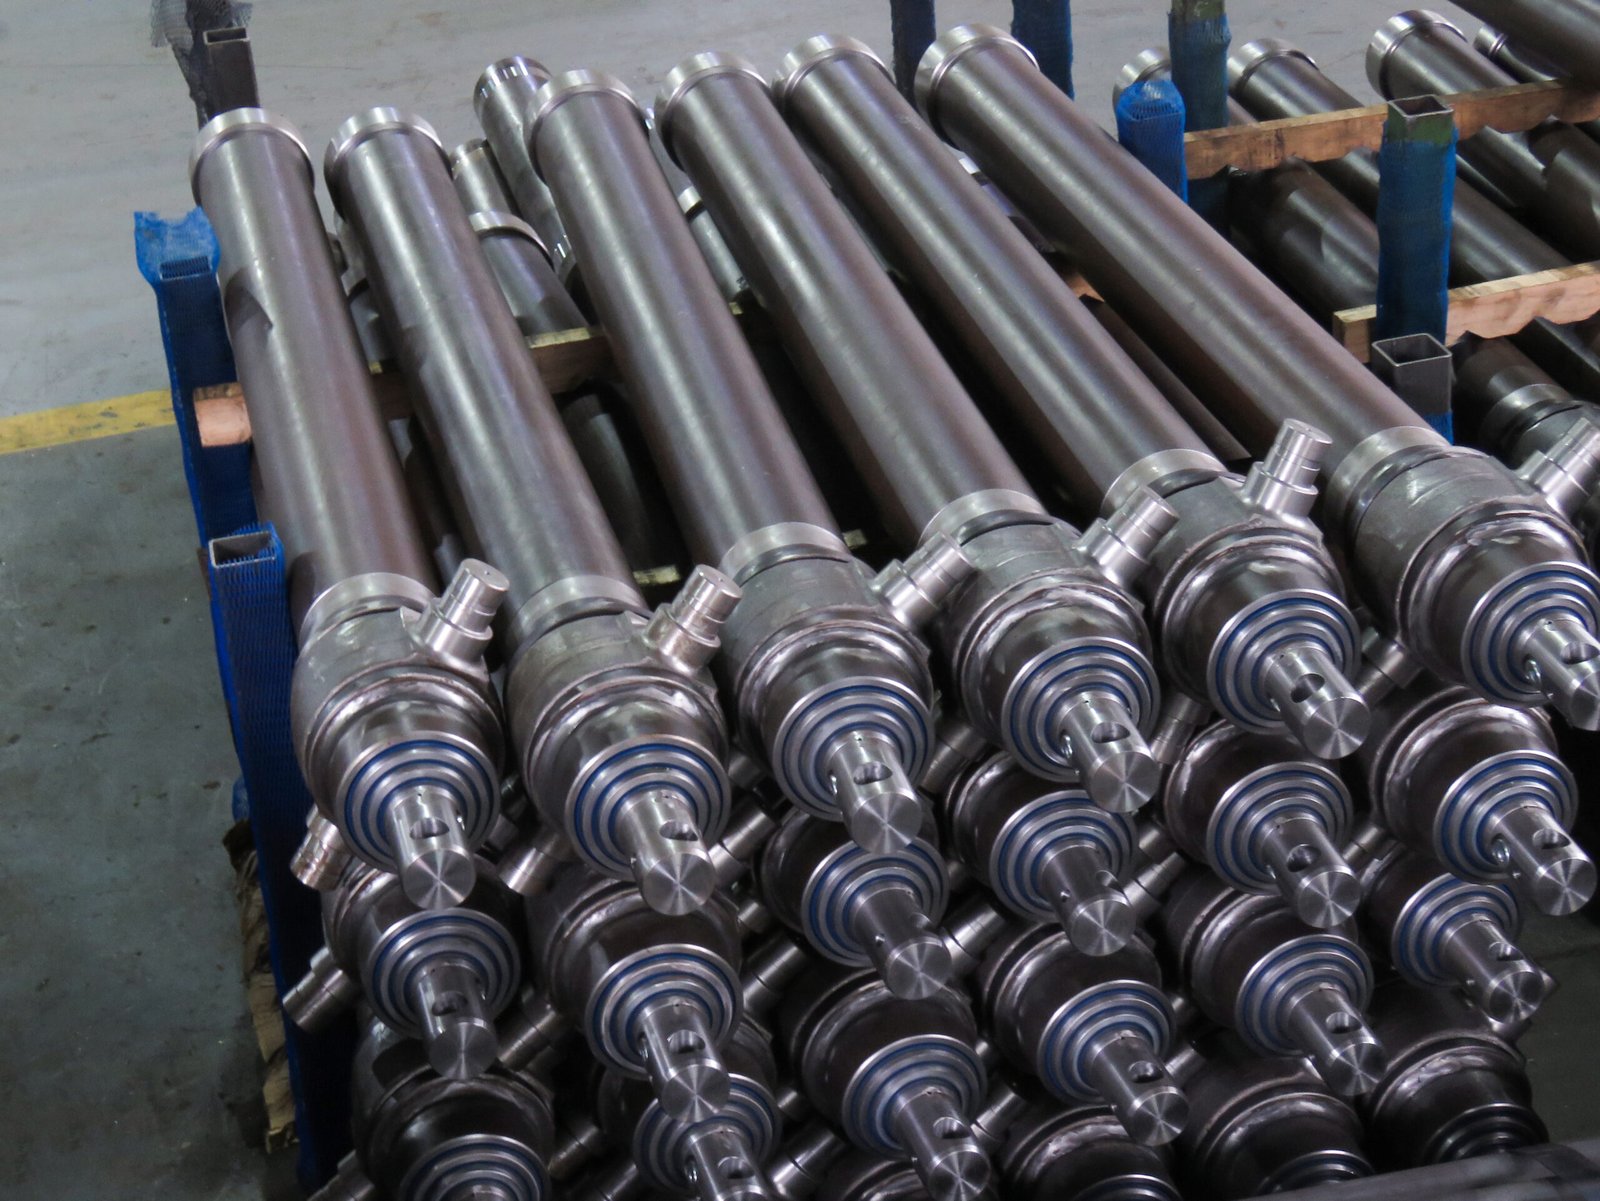
Safety Warning
Before servicing a hydraulic cylinder, isolate all relevant energy sources, secure the equipment and any suspended load using approved mechanical supports, and follow the equipment manufacturer’s lockout and pressure-release procedures.
Hydraulic pressure may remain trapped in the cylinder, hoses, accumulators, or other parts of the circuit even after the power unit has been shut down. Do not loosen fittings or begin disassembly until the system has been made safe according to the applicable service procedure. Never rely on hydraulic pressure alone to support a load.
High-pressure fluid injection injuries require immediate emergency medical evaluation, even when the wound appears small.
Large cylinders, cylinders with accumulators, and designs requiring specialized disassembly equipment should be serviced by qualified personnel using the appropriate procedures and equipment.
Can a Hydraulic Cylinder Be Rebuilt?
Yes, many hydraulic cylinders can be rebuilt, but the suitability of a rebuild depends on the cylinder design, the condition of its components, the availability of compatible replacement parts, and the manufacturer’s service requirements.
Common repair scenarios include:
-
Seal wear or deterioration: Replacing worn seals may resolve leakage when the rod, bore, and sealing surfaces remain within acceptable limits.
-
Piston rod damage: Minor surface defects may be repairable, while deep scoring, corrosion, damaged chrome plating, or a bent rod may require specialist repair or replacement.
-
Barrel wear or bore damage: Scoring, corrosion, or excessive wear must be assessed against the manufacturer’s dimensional and surface-finish limits.
-
Structural damage: Cracks, damaged mounting points, or defects in pressure-retaining components require professional evaluation. Replacement may be necessary when approved repair is not feasible.
A rebuild should not begin until the cause of the failure and the condition of the major components have been assessed.
When Should You Rebuild a Hydraulic Cylinder?
A hydraulic cylinder may need rebuilding when leakage, reduced performance, or visible component damage is detected. However, these symptoms do not automatically confirm an internal cylinder failure. Inspect the hydraulic circuit and verify the cause before disassembly.
External Leaks
Oil around the rod gland, end-cap joint, or other cylinder interfaces may indicate a worn seal, damaged sealing surface, or a problem with the relevant connection. Identify the leak source before selecting replacement parts.
Internal Leakage and Cylinder Drift
Worn piston seals may allow oil to bypass the piston, reducing load-holding performance or causing inconsistent movement. However, drift can also result from control-valve leakage or other circuit issues. Follow the equipment manufacturer’s diagnostic procedure to isolate the cause.
Slow or Weak Operation
Slow movement or reduced force can be associated with internal leakage, but pump performance, valve operation, fluid condition, and system pressure should also be checked.
Rod and Seal Damage
Scratches, corrosion, pitting, or bending on the piston rod may damage seals and affect performance. Inspect the rod surface and check the seals for wear, deformation, or deterioration before deciding whether to rebuild or replace components.
Tools and Materials Needed
The required tools depend on the cylinder design and the manufacturer’s service procedure. Common items include:
-
The specified spanner or hook wrench for the gland design
-
Appropriate snap-ring tools where applicable
-
A calibrated torque wrench for fasteners with specified torque values
-
A compatible cleaning agent selected according to the component materials and seal requirements
-
Clean, lint-free wipes and suitable contamination-control supplies
-
Seal installation tools that will not damage sealing surfaces
-
A dedicated cylinder repair bench or suitable fixture with protective soft jaws
-
Measuring instruments appropriate for checking rod dimensions, bore diameter, straightness, and other specified tolerances
-
The correct seal kit and any required replacement wear rings or guide components
-
The manufacturer’s service manual and applicable safety procedures
Replace seals removed during disassembly unless the manufacturer explicitly specifies otherwise. Protect precision surfaces from clamping damage and contamination throughout the repair.
Step-by-Step Hydraulic Cylinder Rebuild Procedure
Disassembly order varies by cylinder design. Threaded glands, wire-ring caps, tie-rod cylinders, and welded cylinders do not all use the same procedure. Always follow the service manual for the specific model.
Step 1 — Prepare the Equipment and Relieve Hydraulic Pressure
Park the equipment on flat, solid ground. Lower the load to the ground and secure it with approved mechanical supports. Shut off the power unit, isolate all energy sources, and follow the manufacturer’s lockout and pressure-release procedures.
Confirm that both cylinder chambers and any trapped pressure have been safely relieved. Do not rely on pushing and pulling the rod as a pressure-release method. Disconnect hoses only after pressure has been released, then cap all ports and fittings immediately to prevent contamination.
Step 2 — Remove and Clean the Hydraulic Cylinder
Mark hose connections, port locations, and mounting orientation before removal so the cylinder can be reinstalled correctly. Remove the mounting pins and take the cylinder off the equipment.
Thoroughly clean the outside of the cylinder, especially the joint between the end cap and the barrel, to keep debris out during disassembly. Cap lines and ports immediately after removal. Follow the equipment-specific procedure for the required rod position during removal.
Step 3 — Identify the Cylinder End-Cap and Retention Design
Identify the cylinder’s retention design before attempting to open it. Common designs include threaded glands, retaining-ring or wire-ring caps, tie-rod cylinders, and welded constructions.
Use the manufacturer’s specified tools and removal sequence. Retaining rings may release suddenly, and threaded components may remain difficult to remove if corrosion, thread damage, or a locking feature is present.
Do not force the gland or end cap. Avoid tools or methods that can damage the barrel, threads, sealing surfaces, or retention components. If the design or removal method is uncertain, stop and consult the applicable service documentation.
Welded cylinders may require specialized equipment or procedures for disassembly and repair. Do not assume that a welded construction can be safely opened using the same method as a threaded-gland cylinder.
Step 4 — Remove the Rod and Piston Assembly
Once the cylinder has been safely opened according to the applicable service procedure, withdraw the rod and piston assembly in a controlled, aligned manner. Avoid contact between precision surfaces and the barrel bore.
If the assembly does not move as expected, stop and identify the cause rather than applying excessive force. Check for remaining retention features, corrosion, thread engagement, or other design-specific restrictions.
Support the assembly using a suitable fixture that protects the rod surface. Disassemble the piston, gland, and related components only in the sequence specified for that cylinder model. Record component orientation and seal positions to support correct reassembly.
Step 5 — Inspect the Rod, Barrel, Piston and Gland
Clean the components sufficiently for inspection, then check each part against the manufacturer’s service limits.
-
Piston rod: Inspect for scoring, pitting, corrosion, chrome damage, and bending. Measure critical dimensions and check straightness using the specified method.
-
Cylinder barrel: Examine the bore for scoring, corrosion, uneven wear, and other surface defects. Measure the bore where required by the service procedure.
-
Piston: Check for wear, cracks, damaged seal grooves, and worn guide or wear rings.
-
Gland and guide components: Inspect the rod-guiding surfaces, sealing grooves, and relevant clearances for damage or excessive wear.
-
Mounting and retention components: Check for cracks, deformation, damaged threads, or other defects that could affect safe operation.
Compare measured results with the applicable drawing or service manual. Do not approve a component for reuse based on visual appearance alone. Repair or replace any component that falls outside the specified limits.
Step 6 — Identify and Replace the Seals
Identify the correct seal kit using the cylinder model, parts documentation, or verified component dimensions. Confirm that the seal design and material are compatible with the hydraulic fluid, operating temperature, pressure, and seal groove geometry.
Replace seals removed during disassembly unless the manufacturer explicitly permits reuse. Inspect the associated seal grooves, guide rings, and wear rings, and replace damaged components as required.
Install each seal in the specified orientation using suitable tools and the lubricant recommended by the manufacturer. Avoid twisting, cutting, overstretching, or contaminating the seals during installation.
If the original seal specification cannot be verified, do not assume that a visually similar replacement will provide equivalent performance.
Step 7 — Reassemble the Cylinder to Manufacturer Specifications
Reassemble the cylinder in the sequence specified by the manufacturer. Confirm that the piston, gland, seals, guide components, and retention features are correctly positioned and oriented.
Use only the assembly lubricant and sealing products approved for the application. Tighten fasteners and locking components to the specified values and sequence. Replace damaged or designated single-use components rather than reusing them.
Before closing the cylinder, verify that the sealing surfaces and internal components are clean and that no tools, debris, or loose parts remain inside. Do not improvise torque values or substitute unverified components.
Step 8 — Test the Cylinder Before Returning It to Service
Test the rebuilt cylinder using an approved procedure, suitable test equipment, and appropriate guarding. Follow the manufacturer’s specified pressure, operating conditions, and acceptance criteria. Never exceed the cylinder’s rated limits or improvise a pressure-test procedure.
Check for external leakage, abnormal movement, unusual noise, and other signs of incorrect assembly. Verify internal leakage, drift, or load-holding performance only using the applicable test method and safety precautions.
A low-pressure functional check does not replace any required acceptance or proof-pressure test. Before returning the cylinder to service, confirm that the test results meet the relevant specifications and that the cylinder and associated connections can be safely reinstalled.
Rebuild vs. Replace: Which Is Better?
| Factor | Rebuild May Be Suitable | Replacement May Be Better |
|---|---|---|
| Seals | Seal wear only; other parts within spec | Damaged seal grooves or surfaces beyond repair |
| Piston rod | Reusable or repairable within limits | Bent, deeply damaged, or beyond repair limits |
| Barrel | Bore within approved limits | Severe wear, damage, or structural defects |
| Parts | Verified compatible parts available | Original parts unavailable and alternatives unverified |
| Cost and downtime | Repair plan assessed as cost-effective | Repair, machining, or lead time not favorable |
The best decision depends on the cylinder’s measured condition, the availability of approved replacement parts, the cost of repair and testing, and the consequences of future downtime. Obtain a qualified assessment before deciding whether to rebuild or replace a damaged cylinder.
When to Contact a Hydraulic Cylinder Manufacturer
Consider contacting a hydraulic cylinder manufacturer when the original model is discontinued, critical components are damaged beyond approved repair limits, compatible replacement parts cannot be verified, or the application requires a non-standard design.
Toleng Hydraulics supports hydraulic cylinder manufacturing, product selection, custom cylinder development, and OEM projects based on drawings, samples, and application requirements.
When requesting a replacement or custom cylinder, prepare the available drawings or photos, mounting dimensions, bore and rod diameters, stroke length, operating pressure, hydraulic fluid, and application details. Providing accurate specifications helps the manufacturer assess compatibility and identify the appropriate solution.
Need a replacement or custom hydraulic cylinder? Contact Toleng Hydraulics to discuss your application and technical requirements.
Frequently Asked Questions
Can you rebuild a hydraulic cylinder yourself?
Some hydraulic cylinders can be rebuilt by trained technicians with the correct tools, replacement parts, and model-specific service instructions. Cylinders with structural damage or trapped pressure require professional assessment.
Is it worth rebuilding a hydraulic cylinder?
Rebuilding may be economical when the damage is limited to replaceable seals or serviceable components. Compare repair, machining, testing, downtime, and replacement costs before deciding.
Do all hydraulic cylinder seals need to be replaced?
Follow the cylinder manufacturer’s rebuild instructions. Seals removed during disassembly should generally be replaced rather than reused, using components compatible with the hydraulic fluid, temperature, pressure, and seal groove design.
Can a scratched hydraulic cylinder rod be repaired?
It depends on the depth and location of the damage, chrome condition, rod straightness, dimensions, and manufacturer repair limits. Deep scoring, corrosion, or bending may require specialist repair or rod replacement.
How do you know which hydraulic cylinder seal kit to buy?
Identify the cylinder model and consult the manufacturer’s parts documentation whenever possible. Confirm the seal dimensions, profile, material, fluid compatibility, operating temperature, pressure requirements, and groove design. Do not select a seal kit based on appearance alone.

